Sewing Machine Planter Tutorial
Yesterday I shared how you can create change & give your old sewing machine another life, by passing along those old machines and providing others with the opportunity to make a living and/or make a difference in their community. Today I'll show you how deconstruct your sewing machine and turn it into a creative planter.
You'll Need:
sewing machine
screw drivers (flat and phillips)
fine sandpaper
rubbing alcohol
krylon spray paint
Start by removing all outer parts, including needle, sewing feet, bobbin casings etc.
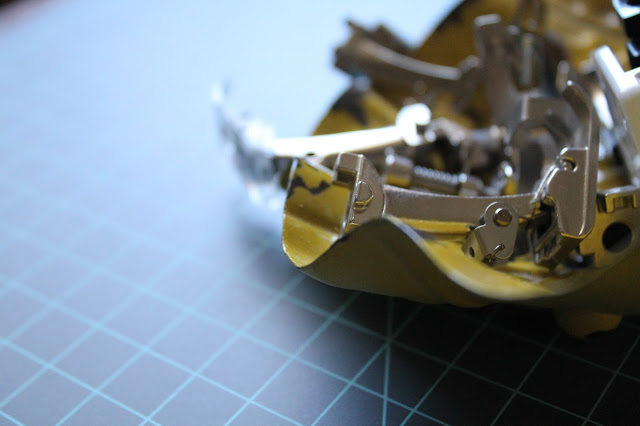
I called in back up (thanks honey!) for the next step, which was removing the case. There are several body clips that you'll need to carefully wedge apart (using flat head screw driver) This is by far the trickiest part and with a little patience and will power you'll get that sucker opened up.
Remove screws. You might find a foreign pattern screw inside, don't panic. You will be able to remove the main section of the machine using a phillips head screw driver.
Teachable moment: The boys LOVED tinkering with the insides of the machine after they were removed. They've spent days figuring out what the gears do and removing/replacing/building.
Use soap & water to wash off any dirt from the surface. Let it dry. Then using a fine sand paper (I used a prograde fine sanding block) rough up the surface, everywhere you'll be painting. Doing this will help the paint will adhere to the plastic. It is much better to apply paint to a dull surface than one that is slick. Wipe the plastic clean with rubbing alcohol to remove any particles or oils before painting.
Paint in a well ventilated area, and be sure to protect the area where you are painting. Be sure to read the directions (The gold paint requires you to shake it until you no longer hear the ball rattle and then shake a little more.) Reassemble machine after it completely dries.
Later this month I'll be sharing a few more tutorials that will help you creatively reuse the insides of the machine. If you love this, I hope you'll share it with friends and join me on my mission to change the way we consume and create with the Create Change Movement. The Create Change Movement is a recycling & consumption revolution, by using discarded materials to create innovative, practical, and wearable works of art + we will change the world. Be sure to connect with me on Facebook or Twitter for all the updates and sign up for TrashN2Tees Briefs Newsletter for tutorials, tips, and goodies delivered to your mailbox.


Comments
Post a Comment