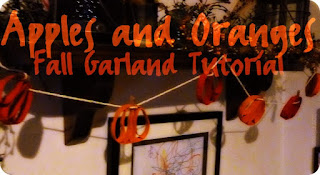
Fall Garland Pumpkins and Apples Tutorial
Toilet Paper Rolls
Scissors
Red and Orange Paint
Ruler
Glue (I used a hot glue gun)
1. Measure and mark your toilet paper tubes in even increments (I did 1/2 inch)
2. Cut.
3. Cut some in half. *For every apple/pumpkin you're making you will need 2 halves- the 1/2s are on the top and bottom to hold the apple/pumpkin together.
4. It was easier for me to group the tubes up into groups of 3 for apples and 4 for pumpkins- then I went back and added 2 half cuts to complete each set and then got to painting.
5. Once dry,
glue tubes together. The 1/2 cuts will then be glued across the bottom of the set. (Fold snippet of unpainted tube and glue to top as stem)
6. String up and decorate!
My oldest dude and I made this garland and it took about an hour and 1/2 total - the orange paint was dry by the time we finished painting our red apples- so we were able to move along with the glue. The garland we made has 3 apples and 3 pumpkins and spans over 3 foot long- I used 2 toilet paper rolls and 1 paper towel roll for this project. We have a lot of crafty fun here in my house and once the weather gets cold I know the boys will be more interested- do you craft along with your kids? Do you have a favorite family craft, please share!


Comments
Post a Comment