How A Serger Actually Works
Have you ever wondered how a serger actually works? All month long we're digging deep and learning to love our sergers. Last week I explained the difference between a serger/an overlocker and briefly covered what a serger does. Today you'll walk away with a clearer understanding of how serger stitches are formed and be able to recognize the different elements that help to create that perfect stitch. This specialty machine performs many functions simultaneously to create stitches. Let's get started!
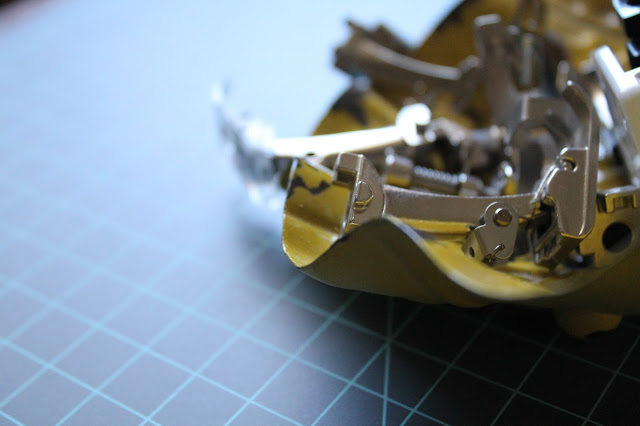
As fabric is fed onto your machine, it meets the feed dogs first. The fabric is moved along until the knife trims the fabric edge. Next, the loopers and needles form the stitches on to the fabric edge, and the fabric is fed off the stitch fingers behind the needle. Now we'll take a closer look...
Feed System: First up, the feed dogs. As your fabric gets fed onto the machine it first reaches the feed dogs. Your feed dogs are the jagged metal teeth-like strips that are located on the stitch plate just beneath the presser foot. The feed dogs, needle plate, and presser foot all work together to move fabric along evenly. You may even notice a second set of feed dogs- some machines have a differential feed system which helps to prevent puckered or stretched seams. (We'll dive more into that later this month!)
Cutting System: Seam allowances are trimmed with a movable knife. The knife or knives on your machine move at the same speed as your needle.
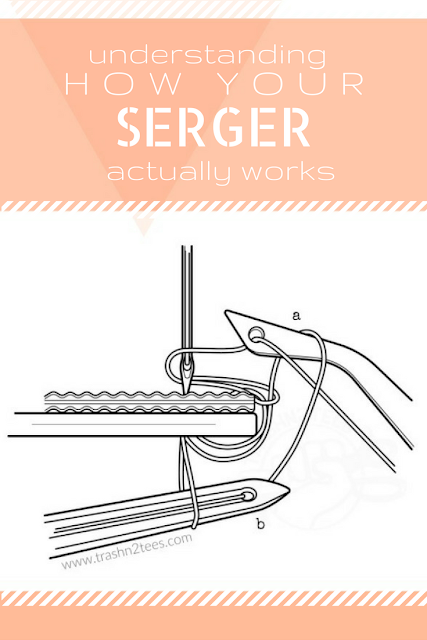
Loopers: Upper looper (figure a) and the lower looper (figure b) are used instead of a bobbin to form the stitches. These looper and needle threads lock together to sew seams or finish seams. Looper threads do not penetrate the fabric.
The threads lock around the seam to prevent fraying, and the machine also cuts off the seam allowance as it sews. Sergers are very fast and make sewing knits much easier! Do you currently have a serger of your own? Join our growing community, help cheer on a neighbor, or get troubleshooting help this month by sharing a picture of your machine or current projects with the #LOVEYOURSERGER on Instagram or Facebook.
Bonus: Find inspiration & tips in groups like the BERNINA Overlocker/Serger Facebook Group and/or Serging For an Answer: Serger Support Group.


This is the first I've seen that explains the interaction of the threads, so thank you very much. I'm really trying to understand the graphic. Is there any chance you could make each thread a different color in the graphic, to aid us in deciphering what happens when the stitch is formed?
ReplyDeleteThis comment has been removed by a blog administrator.
ReplyDelete