DIYU: How To Stenciled Door Mat Tutorial
Welcome to today's DIYU lesson on stenciling a door mat. Wipe your feet on the way in and take a seat.
Before we begin, I think introductions are in order:
Hi, everyone, my name is Brittany (aka Pretty Handy Girl).
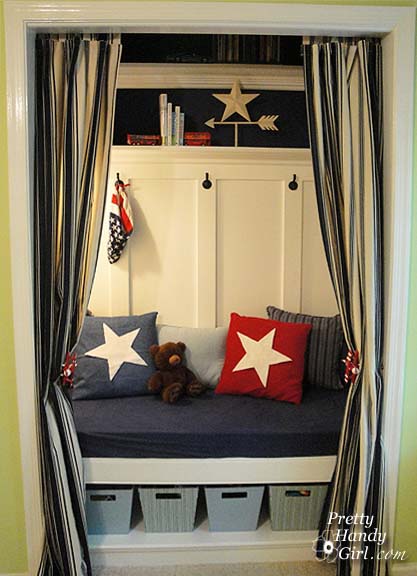
Yup that's me, and that's my drill which might as well be a prosthetic arm because I always have it with me. I write a blog filled with DIY tutorials for building things (like my son's closet turned into a reading nook,)

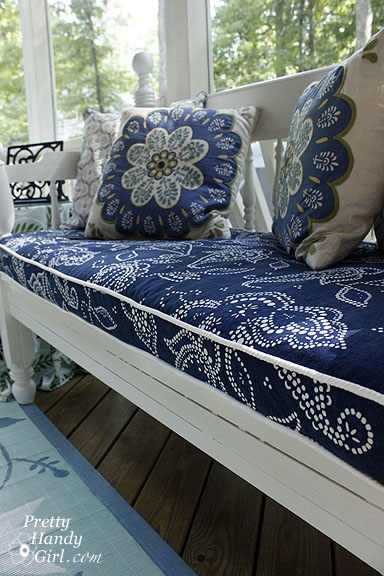
or sewing things (like a piped bench cushion using a shower curtain,)
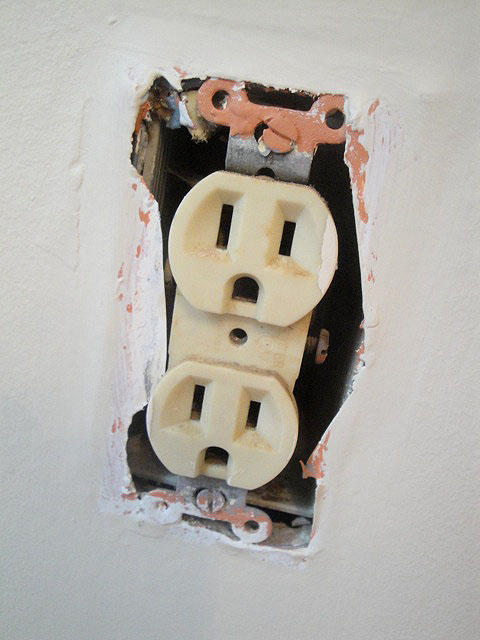
or fixing things (like replacing an old almond colored outlet,)
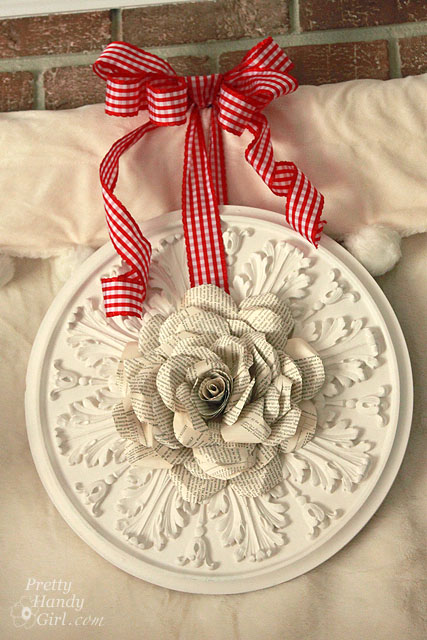
or crafting things like a book page medallion wreath.
Anything I improve, fix, design or create I'll show you how I did it. I believe that you are all handy people, but sometimes need a little step-by-step tutorial to give you the confidence to complete your own DIY project.
Take out your notebooks and — wait a minute, do college students even use pencils anymore? Ahem, take out your iPad or tablet and tap out notes on learning how to stencil a doorway mat.
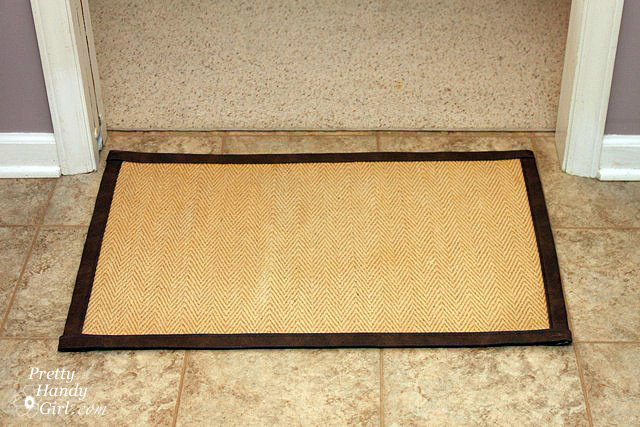
 I picked up this plain Jane door mat a while ago at a thrift store. I knew I had to upcycle this sad rug and using a stencil was an easy and inexpensive option.
 Materials:
 I picked up this plain Jane door mat a while ago at a thrift store. I knew I had to upcycle this sad rug and using a stencil was an easy and inexpensive option.
 Materials:
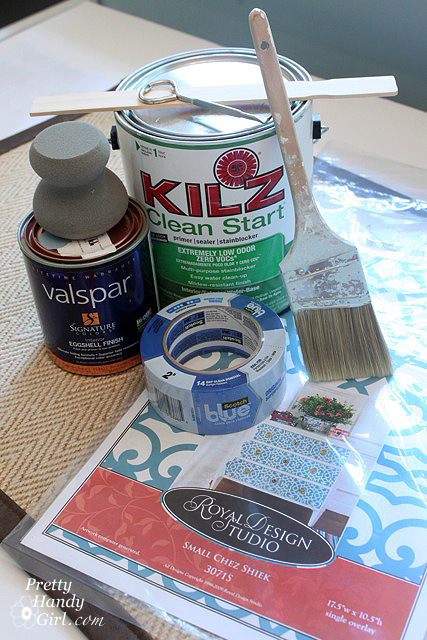
- Door Mat
- Primer
- ScotchBlue painter's tape
- Ruler
- Pencil
- Paint brush
- Small paint roller and tray
- Latex paint (Yellow, Dark Aqua & Light Blue)
- Hair dryer (optional)
- Stencil
- Wet rag
Step 1: Tape off the edges of the door mat.
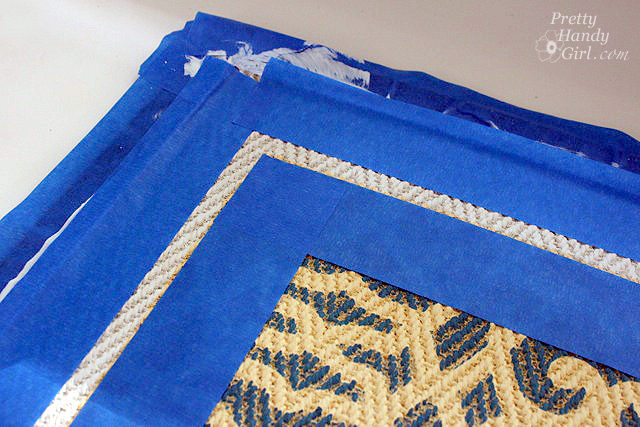
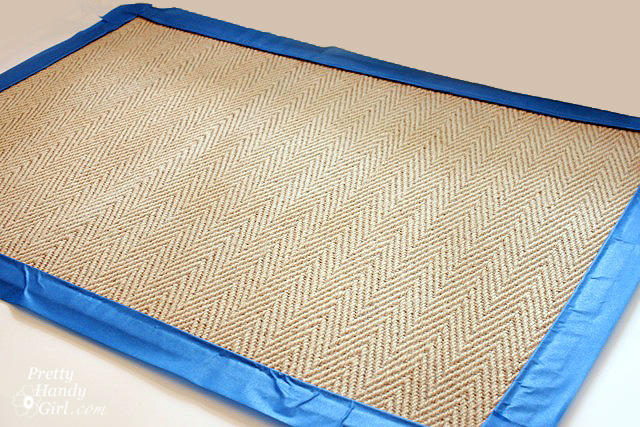 For a better masking job, lay the painter's tape upside down and then slip it under the edge of the trim. Then wrap the tape up, over and on top of the trim, this protects the undersides as well as the top and sides of the trim.
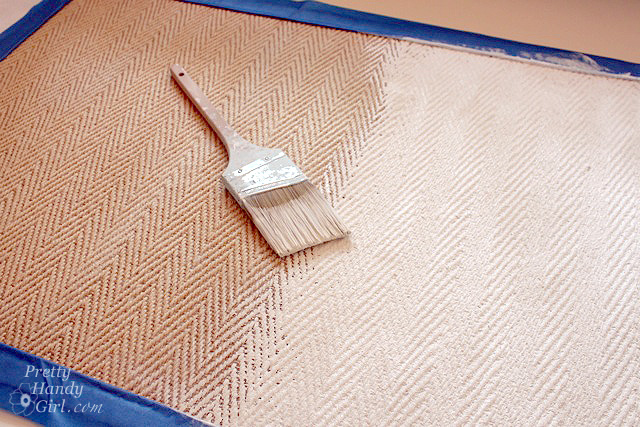
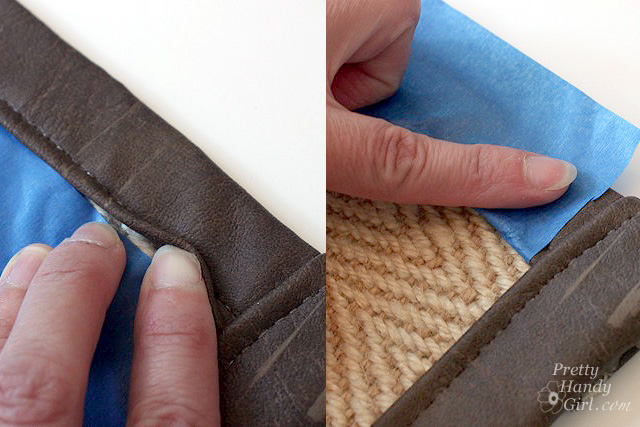 Step 2: Prime the mat. Use a paint brush to get into the grooves in the mat.
 Step 3: Use more painter's tape to tape off inside the trim edges.
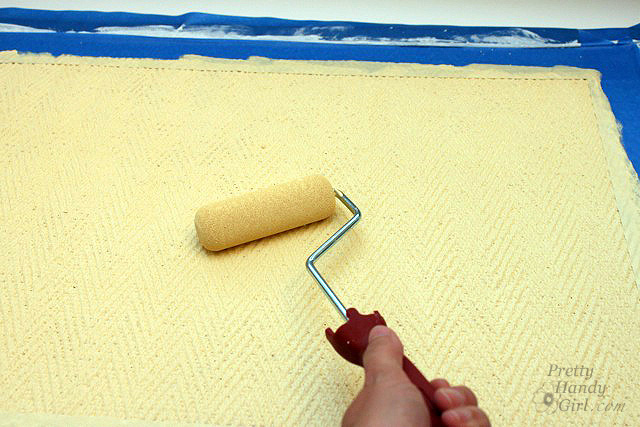
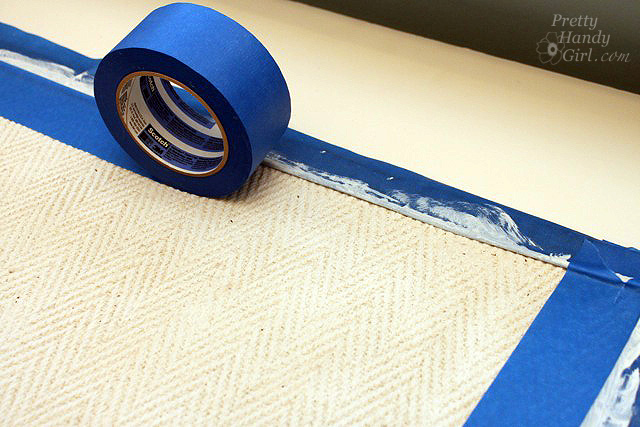 Step 4: Roll yellow paint inside the tape lines.
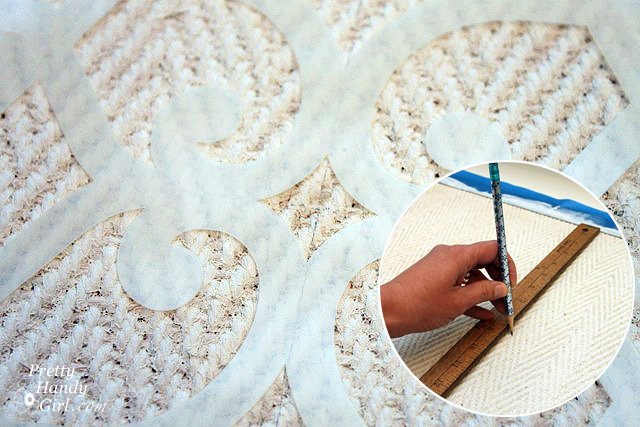
 Step 5: Using a ruler and pencil, mark the center of the mat. Center your stencil pattern on this mark.
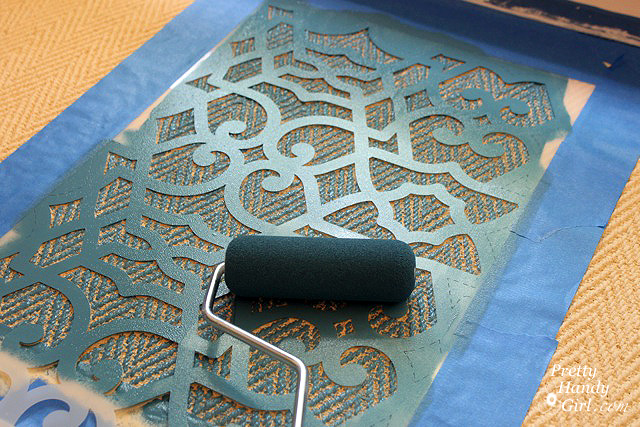
 Step 6: Lightly tape the edges of your stencil to keep it in place. Roll the dark aqua color over the stencil.
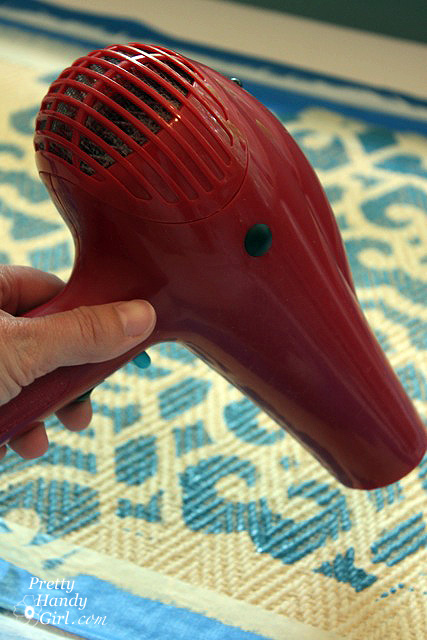
 Step 7: Lift up the stencil and wait for the paint to dry. To speed the drying process, use a hair dryer.
Step 8: Line up the repeat pattern. On the Royal Design Stencils, there are small dotted lines that help assist you in lining up the stencil.
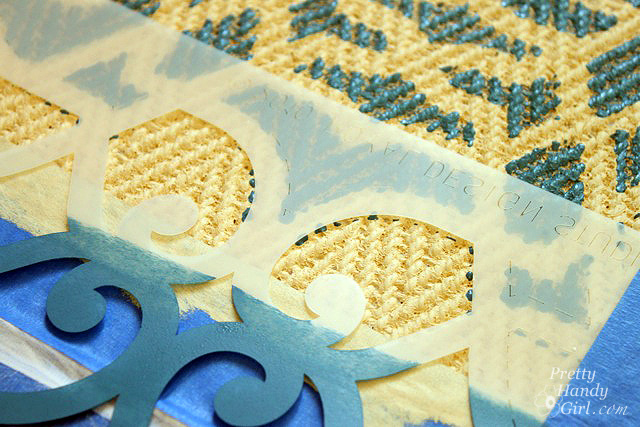 Repeat steps 6 - 8 until the stencil design covers the mat.
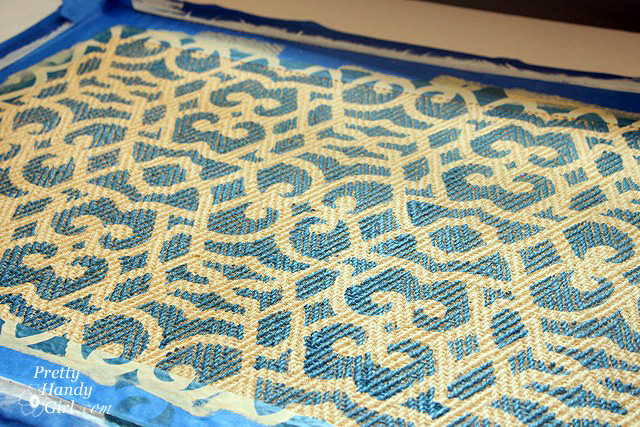 Step 9: Once the paint has thoroughly dried, tape off a thin border edge just outside the stencil painted area.
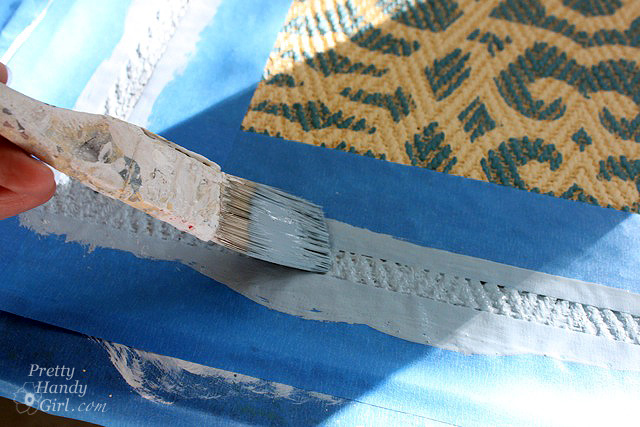
 Step 10: Use a brush to paint the light blue color into the masked border. Less paint is better here. More paint = more paint seepage under the tape.
 Step 11: Remove all the painter's tape and wipe up any boo-boos with a wet rag. Touch up any areas that need a fix.
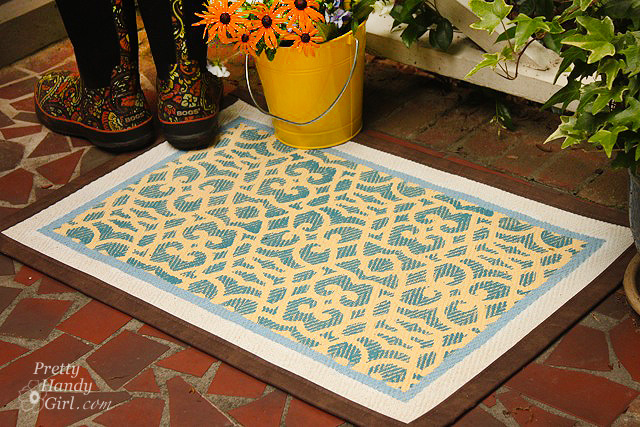
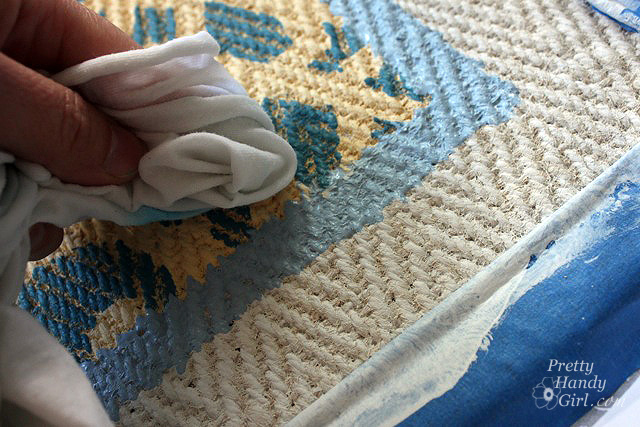 Set your mat by your entryway and enjoy a cheery welcome!
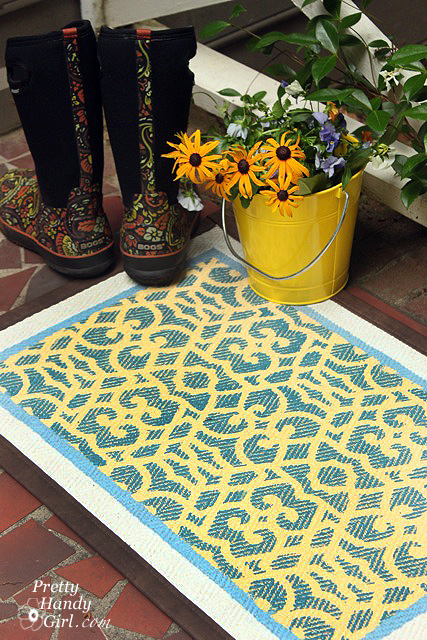
 Repeat steps 6 - 8 until the stencil design covers the mat.
 Step 9: Once the paint has thoroughly dried, tape off a thin border edge just outside the stencil painted area.
 Step 10: Use a brush to paint the light blue color into the masked border. Less paint is better here. More paint = more paint seepage under the tape.
 Step 11: Remove all the painter's tape and wipe up any boo-boos with a wet rag. Touch up any areas that need a fix.
 Set your mat by your entryway and enjoy a cheery welcome!

This was truly an easy project. The hardest part was waiting for the paint to dry. And, I really like how the paint didn't go into the grooves on my mat and left a chevron pattern.
There's the bell. Have a great weekend and come back for more DIYU: School for Crafting Misfits courses from TrashN2Tees next
week!
week!
Yesssss! Someone said it was supposed to Spring, I'm not feeling it yet here in PA but I think this DIY mat Brittany shared with us today might be just the key to welcoming it on in. Thanks for joining us! Think of all the great ways you could decorate your own welcome mat... would yours say "Go Away!" or feature a collage of cats (are you a cat lady too?) I can't wait to find out what you're mat will look like or say- share with me in the comments below.



Comments
Post a Comment