DIYU: How to Thread Your Sewing Machine

I'm not surprised that when I asked "What are your sewing machine fears?" many responded with threading the machine. Take a deep breath- I've got you covered. Once you know how to properly thread your machine and do it a handful of times you'll be surprised at how quick & easy it actually is! Ready to get sewing? Let's do this.
Keep in mind that not all sewing machines or brand are alike. If you encounter a problem or have a question feel free to post in comments below, review your manual, or Google on.

Place the spool of thread onto the spool pin (the prong sticking out the top of your machine). The thread should be coming out from behind. Pull the thread to the left and wrap it round the front of the bobbin winder thread guide sticking out on top of your machine.
Thread into tiny hole in the top of the bobbin and out the top. Place the bobbin on the bobbin winder and push bobbin in towards the right to secure. Turn your machine on and, holding the thread tail above the machine for the first few seconds, press your foot down on the pedal to start the thread winding from the spool onto the bobbin. Continue winding until bobbin is full (or you have enough.) Turn off machine & snip thread. Return bobbin/bobbin winder to original position (push left) and remove it.

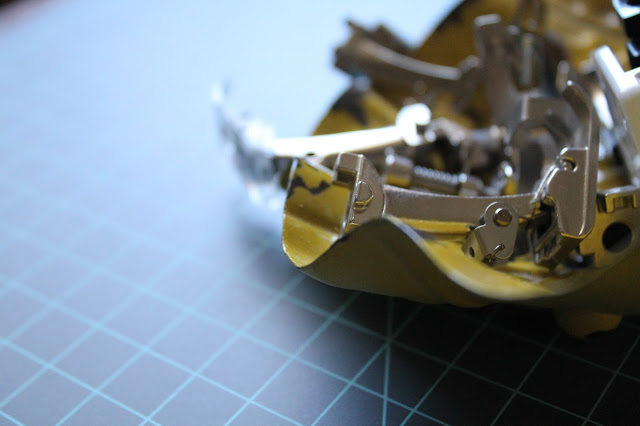
Now you need to thread your machine – you start with the spool thread from the top and then we'll venture onto the bobbin below. Most machines have guides to show you the thread direction.
Raise the needle to its highest position by turning the hand wheel or pressing the needle-up button. Please ensure that the machine is off... it could get dangerous!
Beginning at the spool, guide thread behind the first thread guide (1). The thread should unwind easily from the spool.
Follow the numbered diagram above for reference. Bring your thread down the front of the machine (2), and around the next thread guide (3). Pull the thread up and through the hole or slot in the take-up lever (4). Pull the thread down through any remaining thread guides (5).

3. Threading the Bobbin

The bobbin thread goes in the bottom of the machine. On some machines it's positioned horizontally directly under the needle – flip off the little plastic lid to reach the bobbin holder. My machine is front loaded, which just means the bobbin is positioned vertically - you need to remove the arm on the front left of the machine and flip down the cover to reveal the bobbin holder.

The above picture shows the bobbin case removed.

Place the bobbin of thread inside it. Pull a few inches of thread down the tiny
slit and and out through the side, before placing the case back in the
machine. (This picture shows you the thread being pulled into slit. Make sure it is pulled through completely.)
Insert a bobbin. Raise the presser foot
and hold the needle thread while lowering and raising the needle one
time to loop the top thread around the bobbin thread. Gently pull the
end of the needle thread to bring the bobbin thread up through the
needle hole in the stitch plate. Pull both top and bobbin thread ends
under the presser foot and toward the back of the machine.
Stay connected with TrashN2Tees:
Shop
Shop

Comments
Post a Comment