DIYU: Sewing On Paper
- Stitching on paper will dull your needle. So, be sure to dedicate one needle for this task and use it over and over. *Tip: I like to dab some nail polish on the shaft of my paper needle for easy identification.
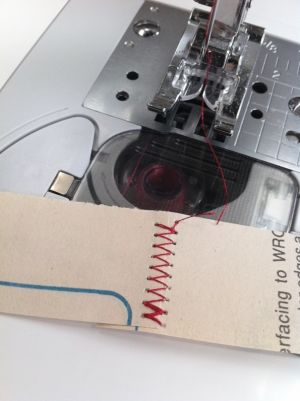
- Adjust your stitch length to be slightly longer. If the stitches are too close together, the paper will tear. Remember, we are punching holes.
- Since pins are not an option (they leave holes) consider applying a small amount of adhesive to 'stick' things together. Just place it where you will not be stitching. That would gunk up your needle.
- Always stitch on the right side or 'face' of your paper. The holes do not look nice from the back side.
- When turning corners stop with the needle in the down position, lift the presser foot and turn.
- To knot your stitches, pull the top thread to the bottom and hand knot; trim.
- Play with decorative stitches and color!
- Greeting cards
- Notebooks
- Post cards
- Paper Garland
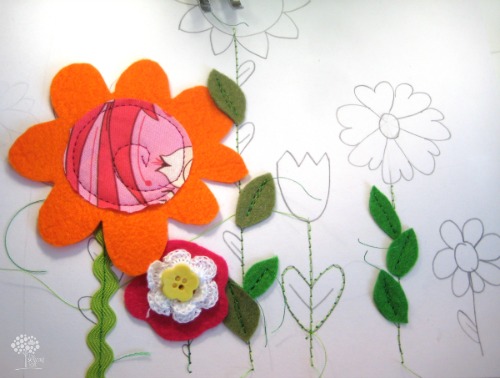
- Mixed Media Art -my kids LOVE this! Here is one that Lady A and I are working on now.
I loved having Heather join us today, and I agree. Sewing on paper is a little less intimidating than jumping all in on your favorite Micheal Miller print... or in my case that irreplaceable vintage pillowcase! If you're looking to grow your fabric/crafting stash be sure to check out the Stash Destash event on The Sewing Loft it begins next Monday (3/18) where more than 15 woman (including myself) will be selling off bundles, kits, and mini collections including fabric yardage, scraps, trims, buttons, patterns and more!
All week long here at DIYU we'll be talking about sewing, stitching, and embroidery. Have a question about anything sewing post it in the comments below and we will be sure to answer it!
Connect with Heather


Comments
Post a Comment